Advanced Koji: Build a Budget Incubation Chamber That Works
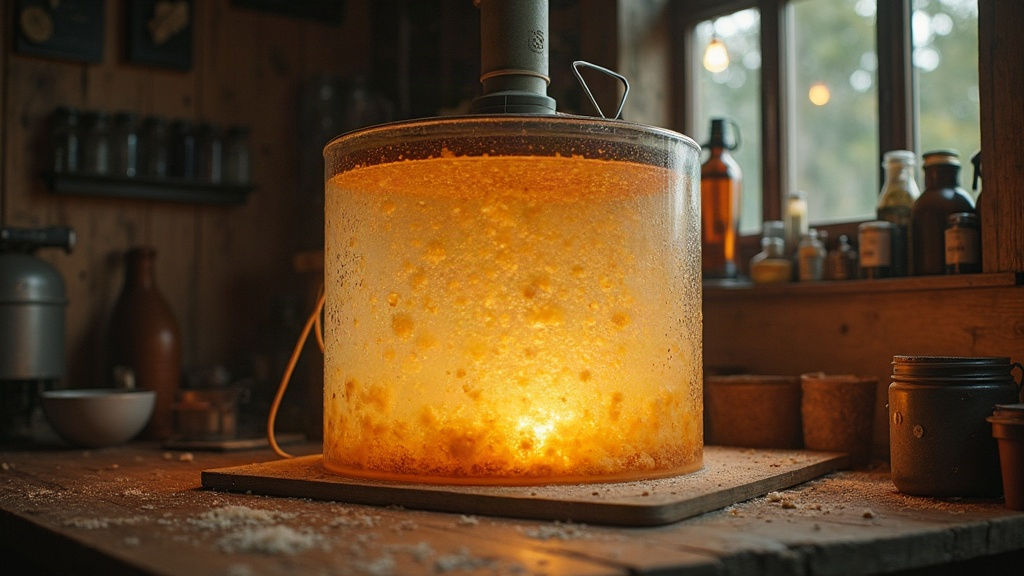
How to Build a Temperature-Controlled Koji Incubation Chamber for Under $100
You don’t need a commercial incubator or a fat budget to grow koji properly. A well-insulated box, a heat source, and a cheap controller will hold the 77-86°F (25-30°C) range koji demands for 36-48 hours straight. Most of the parts you probably already own, or can grab secondhand for pocket change.
Why Temperature Control Matters for Koji
Koji (Aspergillus oryzae) is picky about heat, more than most home fermenters expect. Drop below 75°F and mycelium growth stalls, opening the door for slower-growing but nastier contaminants to move in. Push past 95°F and the mold sporulates too early or just dies, leaving you with a bitter, half-finished batch.
Here’s the tricky part: koji makes its own heat as it grows. During peak growth, usually around hour 24 to 36, the pile can run 10-15°F hotter than the room around it. So your chamber has to pull double duty: hold onto warmth when the koji is still cool, then shed heat fast once it starts cooking itself.
That’s the whole engineering puzzle in a nutshell, and it’s exactly what a proper incubation chamber is built to handle.
Core Components You’ll Need
1. The Enclosure
A few cheap options, ranked by how well they actually perform:
- Styrofoam cooler ($0-15, often free if you ask nicely at a grocery store) - great insulation, light as a feather.
- Mini fridge or wine cooler ($20-50 used) - the gold standard. Steady insulation, built-in shelves, no fuss.
- Cardboard box lined with foil-bubble insulation ($10) - fine in a pinch, but it won’t hold up over repeated batches.
If you can track down a used mini fridge, spend the extra few bucks. The tight door seal and shelf spacing make managing humidity and airflow noticeably easier than wrestling with a cooler lid.
2. Heat Source
- A seedling heat mat ($15-20) taped to the floor of the chamber is the most dependable budget pick. It puts out low, even wattage without hot spots.
- A reptile heat pad does the exact same job and is often even cheaper used.
- Skip space heaters and incandescent bulbs. They throw uneven heat and will scorch part of your koji bed while the rest stays cool.
3. The Controller
This is the part that turns “box with a heat mat” into an actual temperature-controlled chamber, instead of a guessing game.
- The Inkbird ITC-308 (roughly $35-40) is the go-to in home fermentation circles for good reason. It sits between the outlet and the heat mat, and comes with a probe you tape inside the chamber near the koji tray, never touching the mat itself.
- Set your target around 82°F (28°C) with a tight differential of 0.5-1°F. Wider swings than that and you’ll see uneven growth.
- Short on cash? A used aquarium thermostat controller ($15-20) gets you most of the way there, just with a bit less precision.
4. Humidity and Airflow
Koji likes it humid, 90%+ relative humidity ideally, but it also needs fresh air moving through, or CO2 builds up and things start smelling sour fast.
- Line the bottom of the chamber with a damp towel, or set in a shallow tray of water.
- Cut or drill 2-3 small vents (¼ to ½ inch) near the top. If humidity spikes too high, prop the lid open a crack with a wooden skewer.
- Grab an $8-10 combo thermometer/hygrometer and actually check the numbers. Guessing gets you nowhere here.
Step-by-Step Build
- Line the floor of the cooler or fridge with the heat mat.
- Set a wire rack or perforated tray above the mat so the koji trays never sit directly on it.
- Tape the controller probe to the rack at koji height, keeping it clear of the mat.
- Add a shallow water tray for humidity.
- Cut a couple of small vents near the top edge.
- Run the whole setup empty for a few hours first, just to confirm it holds steady before you load in real koji.
Common Pitfalls
- Probe touching the heat mat directly. This gives you a falsely low reading, so the controller keeps cranking heat and cooks your koji.
- No venting. Trapped CO2 and that ammonia smell usually mean poor airflow, not contamination, though it’s easy to panic and assume the worst.
- Overloading the trays. A thick koji bed traps its own heat. Keep layers under 1.5 inches, or you’ll get a scorched center and a raw edge.
- Forgetting the exothermic spike. Around hour 24 to 36, the koji’s own heat output peaks. Be ready to crack the lid or briefly cut the heater during that window.
Testing Before You Trust It
Don’t just throw a real batch in and hope. Run the empty chamber for 24 hours with the thermometer sitting inside, and log the highs and lows every couple of hours. If you’re seeing swings past 3-4°F, tighten the differential on your controller or add another layer of foam insulation before you try again.
Conclusion
A reliable koji incubation chamber doesn’t have to cost much. What it needs is steady heat, humidity that can breathe, and a way to vent koji’s own metabolic warmth once fermentation really gets going. Put together a secondhand cooler or mini fridge, a $15 heat mat, and a $35 controller, and you’re looking at lab-grade consistency for a fraction of what a commercial incubator costs, and results that beat eyeballing it with a desk lamp every single time.