Lagering a Pilsner in a Mini-Fridge with an External Thermostat
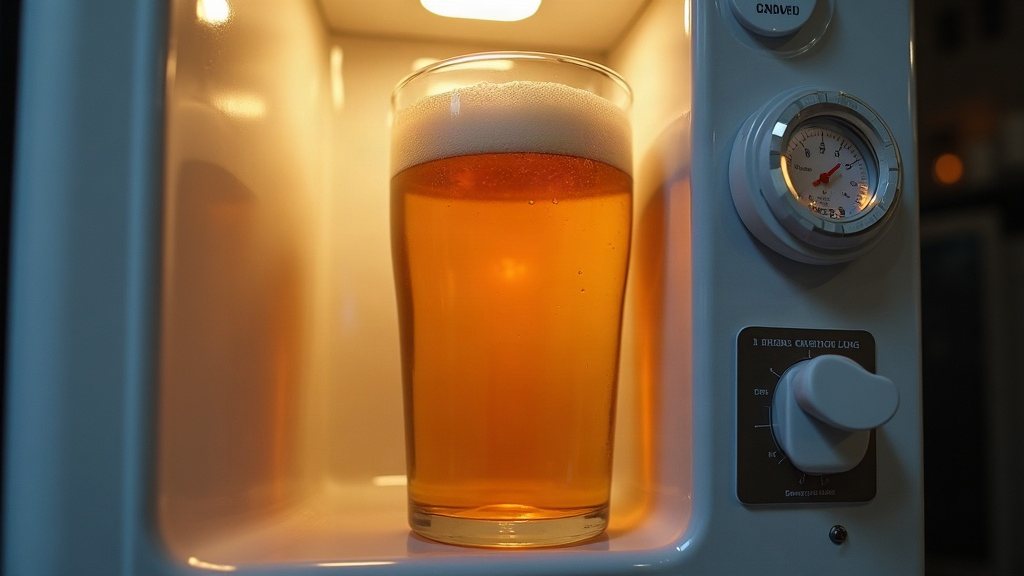
Lagering a Pilsner in a Mini-Fridge: A Budget Setup That Actually Works
If you’ve ever wondered how home brewers get that crisp, almost snappy character in a pilsner without buying a $600 fermentation chamber, here’s the answer: a cheap mini-fridge and an external thermostat. That’s basically it. Converting a $100 dorm fridge into a precisely controlled cold box lets you hit the narrow temperature windows lager yeast insists on, from primary fermentation all the way through the long cold-conditioning stretch that gives pilsners their signature clarity and smoothness.
Why Pilsners Need Such Precise Temperature Control
Pilsner yeast, usually a Saccharomyces pastorianus strain, wants to work between 48 and 55°F (9 to 13°C). That’s notably colder than what ale yeast tolerates. This slow, chilly fermentation keeps fruity esters and fusel alcohols to a minimum, which is exactly why a well-made lager tastes so clean next to an ale. Once primary fermentation wraps up, pilsners need weeks parked at near-freezing temperatures, the actual “lagering” phase, which smooths out rough edges and lets proteins and leftover yeast settle out of the beer.
A regular kitchen fridge usually runs too cold, and its built-in thermostat wasn’t made with brewing in mind anyway. Pair a mini-fridge with an external controller, though, and both problems disappear for not much money.
Building the Setup
What You Need
- A mini-fridge (1.7 to 4.5 cubic feet covers most batches from 1 to 5 gallons)
- An external temperature controller (Inkbird ITC-308 and Johnson Controls A419 are the two everyone recommends)
- A probe thermometer taped to the side of the fermenter, wrapped in foam or an old sock for insulation
- A fermenter that actually fits inside with room left over for the airlock to bubble
How It Works
You bypass the mini-fridge’s internal thermostat completely. The fridge plugs into the external controller, and the controller plugs into the wall outlet. The temperature probe, taped directly against the fermenter rather than just dangling in the air, reports the actual beer temperature to the controller, not the surrounding air temperature. That distinction matters more than people realize: fermentation generates its own heat, so during active fermentation the beer can run several degrees warmer than the air around it.
Set a tight differential on the controller, something like 1 to 2°F, so you’re not swinging the temperature up and down and stressing out the yeast.
Step-by-Step Lagering Process
- Primary fermentation: Dial the controller to 50°F (10°C). Pitch plenty of healthy lager yeast. Under-pitching is probably the single most common mistake here, since lager strains need roughly double the cell count an ale yeast would require for the same batch.
- Diacetyl rest: Once fermentation hits 70 to 80% complete (pull a gravity reading to confirm), bump the temperature up to 62 to 65°F (17 to 18°C) for two or three days. This nudges the yeast into cleaning up diacetyl, that buttery, butterscotch-like off-flavor nobody wants in a pilsner.
- Cold crash and lagering: Drop the temperature gradually, 3 to 5°F per day, until you reach 33 to 38°F (1 to 3°C). Hold it there anywhere from 2 to 6 weeks, depending on the beer’s gravity. A bigger, higher-gravity pilsner needs more time than a light session beer.
- Packaging: Keg or bottle while the beer is still cold to lock in that clarity, then carbonate the usual way.
Common Problems and Fixes
- Temperature overshoot: If the fridge keeps cycling too hard, tighten the controller’s differential, or just toss a water-filled jug inside to add thermal mass and slow down the swings.
- Condensation on the probe: Seal where the probe wire enters the fridge with foam tape. Otherwise humidity creeps in and triggers false readings, which throws off your whole setpoint.
- Fridge too small for long-term storage: A lot of brewers only use the mini-fridge for primary fermentation and the diacetyl rest, then shift the kegs into a chest freezer or a cold garage corner for the actual lagering stretch.
- Noise and energy use: Compact fridges cycle on and off constantly when set this cold, so putting it in a garage or basement saves you from both the noise and the extra heat load in a living space.
Is It Worth It Compared to a Chest Freezer?
Chest freezers hold more beer and insulate noticeably better, no argument there. But mini-fridges cost less, take up a fraction of the floor space, and slide into an apartment closet without anyone noticing. If you’re brewing 1 to 3 gallon batches, a mini-fridge with an external thermostat is honestly the smarter starting point. You can always upgrade to a chest freezer later once your batch sizes creep up.
Conclusion
A mini-fridge rigged with an external thermostat hands home brewers near-professional control over pilsner fermentation and lagering, for a fraction of what commercial equipment costs. What matters most: tape that probe directly onto the fermenter, keep the differential tight, and don’t rush the cold-conditioning phase. Nail those three things and you’ll turn out pilsners with the clean, crisp bite that makes the style worth brewing in the first place.