Sous-Vide Circulator Yogurt Incubation: A Precision Guide
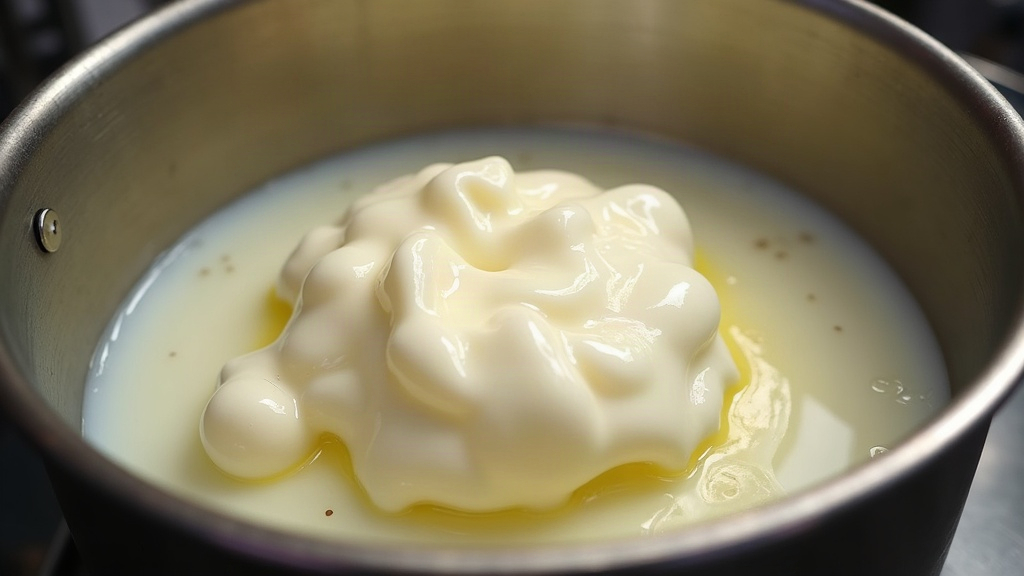
Using a Sous-Vide Circulator to Make Perfect Yogurt Every Time
If you’ve ever made yogurt at home and ended up with something runny, grainy, or separated into watery pockets, the culprit is almost always temperature. A sous-vide circulator fixes that problem outright. It holds water within a tenth of a degree for hours at a stretch, and that kind of steadiness is exactly what fermenting milk cultures want. Set it once, walk away, come back to thick, tangy yogurt. Every batch, not just the lucky ones.
Why Temperature Control Matters So Much
Yogurt comes from culturing milk with live bacteria, usually Lactobacillus bulgaricus and Streptococcus thermophilus, which feed on lactose and turn it into lactic acid. These organisms are fussy about their environment:
- Too cold (below 100°F / 38°C): fermentation crawls or stops altogether. You end up with thin, flat-tasting yogurt that never really sets.
- Too hot (above 115°F / 46°C): the cultures just die. Fermentation stops cold, and sometimes the milk curdles in an unappetizing way.
- Fluctuating temperature: even a swing of a few degrees over several hours wrecks the texture. One batch comes out grainy, the next splits into whey pockets, and you never quite know why.
A dedicated yogurt maker, an oven with the light on, or a heating pad propped under a towel can get you somewhere in the right neighborhood, but none of them lock in a number the way an immersion circulator does. Sous-vide tools were built for long, slow, dead-steady heat, which is probably why so many chefs and serious home fermenters quietly switched to them for incubation.
The Ideal Incubation Setup
Target Temperature
Most cultures do best somewhere between 108–112°F (42–44°C). That range hits a sweet spot: fast enough fermentation, smooth enough texture. Want something milder and less sour? Stay near 108°F. Prefer a thicker, tangier yogurt? Push it toward 112°F.
Equipment You’ll Need
- An immersion circulator (anything with ±0.5°F accuracy or tighter will do the job)
- A pot or container deep enough to fully submerge your jars
- Glass jars with lids (standard mason jars are fine)
- A thermometer for spot-checking, not strictly necessary, but useful the first few times until you trust the process
Step-by-Step Method
- Heat the milk to 180°F (82°C) and hold it there for a few minutes. This denatures the whey proteins and gives you a noticeably thicker final set.
- Cool the milk down to about 110°F (43°C) before stirring in your starter culture, or a few tablespoons of plain yogurt with live cultures.
- Fill your jars with the inoculated milk and seal them loosely. Not airtight; some gas needs somewhere to go.
- Submerge the jars in the sous-vide bath, keeping the water level below the lids.
- Set the circulator to 110°F (43°C) and let it do its thing.
- Incubate for 4 to 8 hours. Check around the 4-hour mark if you want something looser and milder. Push to 8 hours for a firmer, more sour yogurt.
- Chill it right away, at least 4 hours in the fridge. This stops fermentation and tightens up the texture even more.
Common Questions
Can I incubate without jars, straight in a bag? Sure. Vacuum-sealed or zip-top bags work fine for small batches. Jars are still easier if you plan to strain the yogurt for a Greek-style finish, though.
Is it safe to circulate water around sealed jars like that? Completely. You’re not pasteurizing raw protein here the way you would with sous-vide steak, so there’s no real food-safety issue beyond normal kitchen hygiene. Just make sure the jar openings stay above the waterline.
Why did my yogurt come out watery? Three usual suspects: incubation was too short, the starter culture was old or weak, or the milk never got up to 180°F before cooling. Since the sous-vide bath takes temperature out of the equation entirely, if you’re still having trouble, look at your culture’s freshness or the milk itself.
Can I make flavored or dairy-free yogurt this way? Yes, on both counts. Add vanilla, honey, or fruit puree after incubating and chilling, not before. Sugars and acids can throw off culture activity if added too early. Plant-based milks like soy or coconut ferment just fine in the same temperature window, though they’ll often need a thickener like agar to get real body.
Conclusion
A sous-vide circulator turns yogurt-making from a bit of a gamble into something closer to a repeatable lab procedure. Lock in a steady 108–112°F bath for 4 to 8 hours and the temperature swings that cause runny or uneven batches simply disappear. Once you’ve tasted what that consistency does for texture and tang, going back to a towel-wrapped jar on the kitchen counter feels like a step backward.