Brewing Your First Hard Cider From Store-Bought Apple Juice
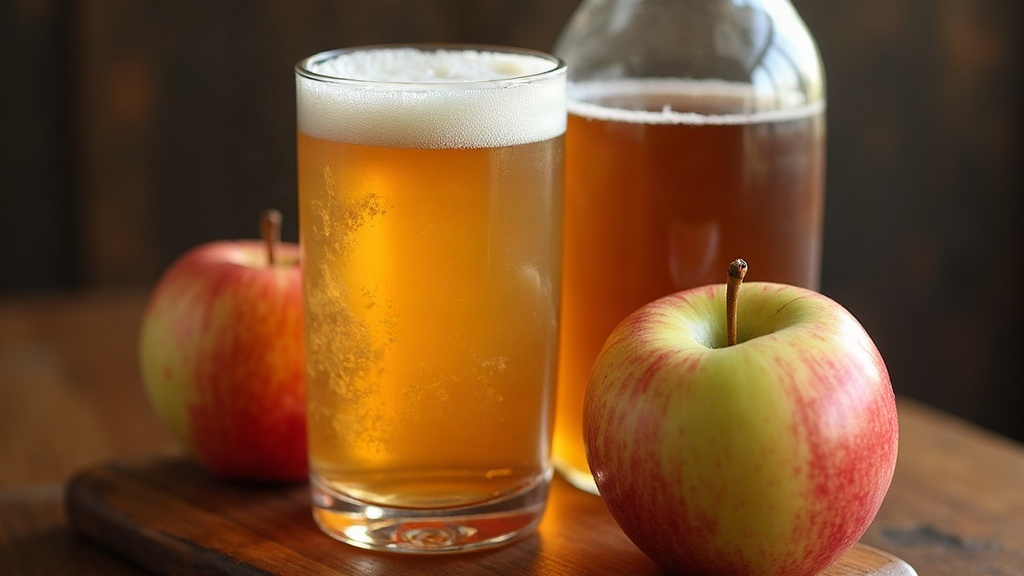
Brewing your first hard cider from store-bought apple juice might be the single easiest door into home fermentation. Grab juice, yeast, a couple of basic tools, and in under a month you’ve turned a grocery store staple into something crisp, dry, and genuinely alcoholic. No orchard. No press. No fancy gear sitting in a garage somewhere.
Why Apple Juice Works So Well for Beginners
Cider purists will tell you fresh-pressed juice is the “real” way to do this. Maybe. But pasteurized, store-bought apple juice is honestly a better starting point for someone brewing their first batch. It’s consistent bottle to bottle, sold everywhere, and already stripped of the wild bacteria that can ruin a batch before it even gets going. Pitch some yeast, walk away, and let the chemistry handle the rest.
What you need:
- 1 gallon of 100% apple juice (check that it has no preservatives like potassium sorbate)
- 1 packet of wine or cider yeast (Lalvin EC-1118 and Champagne yeast are both solid, cheap choices)
- A 1-gallon glass jug or food-grade plastic fermenter
- An airlock and rubber stopper
- Sanitizer (Star San or an iodine-based option works fine)
- Optional: sugar or honey if you want a higher ABV, plus campden tablets
Step 1: Check Your Juice Label
Skip this step and you’ll wonder why nothing’s happening two weeks in. A lot of juice on the shelf contains potassium sorbate or sodium benzoate, preservatives whose entire job is to stop fermentation cold. Look for something labeled plainly “100% apple juice,” nothing else added. Organic brands or the “simply” style juices in the refrigerated aisle are usually a safe bet here.
Step 2: Sanitize Everything
From this point on, anything touching your juice needs to be sanitized: jugs, airlocks, spoons, funnels, all of it. Off-flavors and ruined batches almost always trace back to stray bacteria or wild yeast sneaking in. Good news is sanitizing barely takes any time, maybe two or three minutes with a no-rinse product like Star San.
Step 3: Pitch Your Yeast
Pour the apple juice into your sanitized jug, leaving a bit of headspace since fermentation gets bubbly. Rehydrate the yeast following the packet (usually warm water, about 15 minutes), then pitch it in. Cap the jug with an airlock filled with water or sanitizer solution.
Optional boost: Stir in 1-2 cups of sugar or honey before fermentation if you want more kick. Rough rule of thumb: one cup of sugar per gallon bumps the ABV up by about 1%.
Step 4: Let It Ferment
Find it a dark, stable spot, somewhere between 65-75°F (18-24°C) is ideal. Within a day or two you’ll start seeing bubbles pushing through the airlock, that’s CO2 escaping, and it’s the first real sign things are working.
Primary fermentation usually runs 1-2 weeks. The bubbling will peak, then taper off noticeably, eventually slowing to almost nothing once the yeast has eaten through most of the sugar.
Step 5: Rack and Clarify
Once you’re down to roughly one bubble a minute or less, it’s time to rack. Siphon the cider off the sediment (the lees settled at the bottom) into a second clean, sanitized container. This pulls out a lot of the off-flavors and starts clearing up the cider visually. Give it another 1-2 weeks to settle before moving on.
Step 6: Bottle or Keg
You’ve got options here. Hard cider can go still (flat), naturally carbonated, or force-carbonated if you’re set up with kegging equipment.
- Still cider: just bottle it once fermentation’s done, no extra steps.
- Naturally carbonated: add a touch of priming sugar (roughly ¾ cup corn sugar per 5 gallons, scaled down for a single gallon batch) right before bottling, using swing-top bottles or beer bottles rated for pressure.
Give the bottles 1-2 weeks at room temperature to condition before chilling one down and trying it.
Common Beginner Questions
How strong is homemade hard cider? Usually somewhere between 5-9% ABV, depending on how much natural sugar was in the juice and whether you added any extra.
Does it taste like store-bought cider? Expect it drier and more tart than the sweet commercial stuff, since the yeast is converting nearly all the sugar into alcohol rather than leaving it behind. If that’s too dry for your taste, back-sweeten afterward with something non-fermentable like stevia or xylitol, otherwise the yeast will just eat it and you’re back to square one.
Is it safe? Yes. Sanitize your gear, use preservative-free juice, and hard cider ends up being one of the safest, most forgiving ferments a beginner can attempt.
Final Thoughts
Making hard cider from store-bought apple juice strips away almost every obstacle that usually scares people off homebrewing. A bit of equipment, a few weeks of waiting around, careful sanitizing along the way, and you’ll end up with a batch that’s crisp and genuinely tasty. It’s also a nice jumping-off point. Once you’ve got the basics down, there’s nothing stopping you from trying fresh-pressed juice, tossing in spices, or experimenting with fruit additions on your next run.