My First Hard Lemonade: Frozen Concentrate + Champagne Yeast
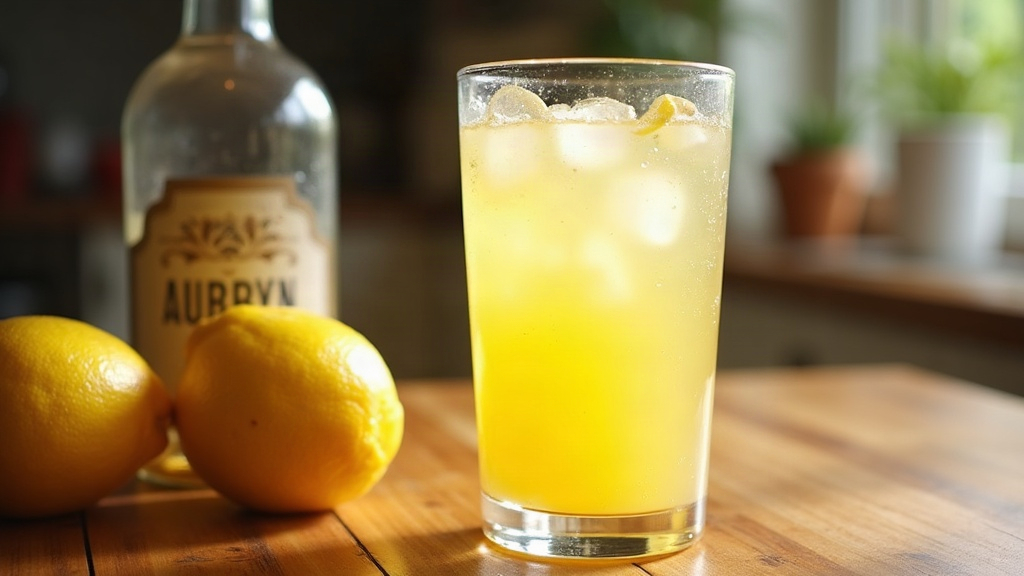
Making your first hard lemonade from frozen concentrate and champagne yeast is probably the cheapest on-ramp into fermentation you’ll find. No pricey gear, no three-week wait, no guessing games. You’re using a can of concentrate you’d normally just mix with water anyway, swapping in champagne yeast (Lalvin EC-1118 or Red Star Premier Cuvée are the usual suspects) to turn sugar into alcohol and carbonation. Here’s exactly what goes into it, how the process plays out, and what your glass will actually taste like at the end.
Why Frozen Concentrate and Champagne Yeast?
Frozen lemonade concentrate works so well as a starter base because it’s cheap (often under $2 a can), consistent batch after batch, and already flavor-balanced, nobody has to tinker with sugar-to-acid ratios like they would with fresh juice. Champagne yeast earns its spot because it:
- Shrugs off high alcohol, tolerating anywhere from 14-18% ABV
- Ferments clean, without the funky off-notes some bread or ale yeasts throw in
- Moves fast, usually wrapping up primary fermentation in 5-10 days
- Sits on the shelf at pretty much every homebrew shop and online retailer
Put those two together and most of the stuff that intimidates first-timers just disappears.
What You’ll Need
- 3-4 cans (12 oz each) of frozen lemonade concentrate (skip the pink stuff with artificial dye unless the color doesn’t bother you)
- 1 packet of champagne yeast (EC-1118 is the forgiving, go-to option)
- 1 gallon of water (spring or filtered is best; heavily chlorinated tap water can sabotage the yeast before it even gets started)
- 1/2 to 1 cup of granulated sugar (optional, bumps up the ABV and tweaks the sweetness balance)
- A 1-gallon glass jug or food-grade plastic fermenter
- An airlock and rubber stopper
- A funnel and sanitizer (Star San or any no-rinse sanitizer works fine)
Sanitize everything. Not “mostly everything,” everything. Wild bacteria and mold ruin batches faster than any other mistake on this list, and once it happens, there’s no fixing it, only dumping it.
Step-by-Step Process
1. Sanitize Everything First
Before a single ingredient touches anything, run your jug, airlock, stopper, funnel, and stirring utensils through sanitizer. This one habit alone wipes out roughly 90% of the failures first-timers run into.
2. Mix the Lemonade Base
Thaw the concentrate and pour it straight into your sanitized jug. Top it off with water until you hit about a gallon, leaving a couple inches of headspace since fermentation gets a little lively. Adding sugar for a higher ABV? Stir it in now and make sure it’s fully dissolved, no gritty residue at the bottom.
3. Check the Temperature
Get the mixture under 90°F (32°C) before you add yeast. Champagne yeast can handle a fairly wide range, but dump it into something too hot and you’ll kill it on contact.
4. Pitch the Yeast
Sprinkle the yeast directly on the surface, or rehydrate it first in a small cup of warm water for 10-15 minutes (this tends to give a more reliable, faster start). Swirl the jug gently, just enough to mix things in. No need to whisk it like you’re making pancake batter.
5. Seal and Ferment
Snap on the airlock and stopper, then tuck the jug somewhere dark at room temperature, 65-75°F (18-24°C) is the sweet spot. Give it a day or two. Somewhere around the 24-48 hour mark you should see bubbles ticking through the airlock. That’s fermentation doing its thing.
6. Wait It Out
Primary fermentation generally runs 5-10 days. Over that stretch the lemonade shifts from sweet and cloudy to noticeably drier and clearer, the yeast is literally eating the sugar and leaving alcohol and CO2 behind. You’ll notice the airlock bubbling slow way down as it wraps up.
How Do You Know It’s Done?
- Airlock activity has dropped to almost nothing, maybe one bubble every minute or slower
- The taste has shifted, less sweet, more boozy
- If you’ve got a hydrometer, a steady reading over 2-3 days in a row is your confirmation fermentation has finished
Bottling and Carbonation (Optional)
Want some fizz? Bottle it with a small dose of priming sugar, about 3/4 teaspoon per 12 oz bottle, and let it sit at room temperature for 3-5 days before chilling. Prefer it flat? Just refrigerate right after fermentation. The cold stops the yeast and helps the drink clarify on its own.
Common Beginner Mistakes to Avoid
- Skipping sanitation, this is the fastest route to off-flavors or an outright spoiled batch
- Using chlorinated tap water, it can stress or straight-up inhibit the yeast
- Checking the airlock too often, every time you crack it open you’re messing with the environment inside
- Bottling too early, leftover sugar plus trapped CO2 equals bottle bombs, and nobody wants glass shards in their kitchen
Final Taste Expectations
Don’t expect a sugary wine cooler. Your first batch will come out dry, tart, and unmistakably alcoholic, think hard cider more than bottled lemonade from the gas station. If that’s too austere for your palate, splash in a bit of fresh lemonade or simple syrup right before serving to soften the edge.
Conclusion
Brewing hard lemonade from frozen concentrate and champagne yeast is about as cheap and low-maintenance as fermentation gets. All you really need is a jug, an airlock, and roughly a week of patience, and you’ll end up with something genuinely worth drinking. It’s also a decent stepping stone, once this one’s done, you’ll have the basic instincts down for whatever bigger fermentation project you want to try next.