Fermenting Green Tomatoes Before the First Frost
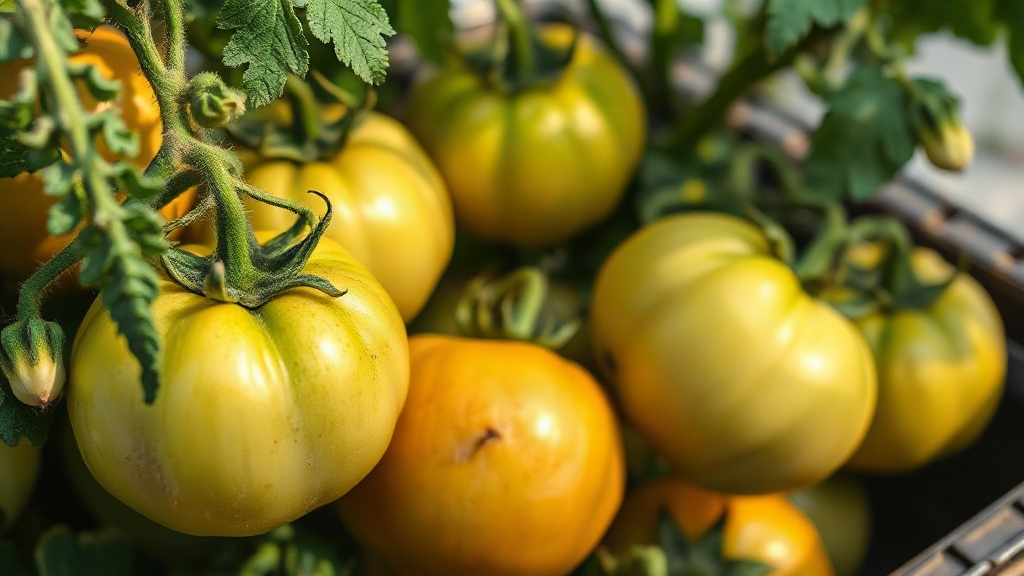
As the first frost creeps in, most gardeners end up staring at a vine loaded with green tomatoes that were never going to ripen in time anyway. Before you toss them on the compost pile or start wrapping each one in newspaper like a strange holiday gift, consider fermenting them instead. It’s quick, it wastes almost nothing, and within a few days you’ve got tangy, probiotic-rich pickles instead of a bucket of sad green orbs. Here’s why fermentation works so well on late-harvest tomatoes, and how to actually do it.
Why Fermenting Green Tomatoes Makes Sense
Once temperatures drop, tomato plants basically stop making sugar efficiently. Any fruit still green on the vine isn’t going to ripen well indoors, no matter how many paper bags you stuff it into. So you’re left with three real options: toss the tomatoes, try the slow indoor ripening trick (which usually gives you mealy, flavorless results), or preserve them while they’re still firm and tart. Fermentation happens to be the best fit for green tomatoes, for a few reasons:
- Firmness is an asset, not a flaw. Unripe tomatoes hold their crunch through the fermentation process far better than ripe ones, which tend to collapse into mush.
- Acidity develops on its own. Lacto-fermentation relies on beneficial bacteria to produce lactic acid, so you skip the vinegar entirely and keep the live cultures intact.
- It’s fast. No sealed jars, no precise processing times like canning demands. You can have a jar going in ten minutes and be eating from it in 5 to 7 days.
Harvesting Before the Frost Hits
Timing is everything here. A light frost, say 32 to 33°F, won’t necessarily ruin your plants if you cover them overnight. A hard freeze is a different story: it wrecks the cell walls and turns tomatoes into mush, useless for fermenting. So the moment frost shows up in the forecast:
- Pick every firm green tomato you can find, no matter the size. Leave only the ones already showing a blush of pink or orange on the vine, and bring those inside to ripen separately.
- Sort by size and firmness. Small, rock-hard tomatoes ferment beautifully whole or halved; the bigger ones do better quartered or sliced.
- Toss anything with soft spots, cracks, or blossom-end rot. These are basically an open invitation for mold and unwanted bacteria in your ferment.
Basic Green Tomato Fermentation Recipe
Ingredients
- 2 lbs firm green tomatoes, whole (if small) or quartered
- 1 quart filtered, non-chlorinated water
- 2-3 tablespoons sea salt or kosher salt (non-iodized)
- 4-6 garlic cloves, smashed
- 1 tablespoon whole black peppercorns
- Optional: dill sprigs, mustard seeds, a slice of horseradish root, or a pinch of chili flakes if you want some heat
Steps
- Make the brine. Dissolve the salt in water to roughly a 3-5% salinity, about 2 tablespoons per quart.
- Layer a clean glass jar with the garlic, peppercorns, and whatever aromatics you’re using at the bottom.
- Pack in the tomatoes, snug but not crushed, leaving about 1-2 inches of headspace at the top.
- Pour the brine over the tomatoes until they’re completely submerged. A fermentation weight or a small glass cup works well to keep them pinned under the liquid.
- Cover loosely, either with a lid that isn’t fully sealed or an airlock, so gas can escape without letting contaminants in.
- Let it sit at room temperature (65-75°F) for 5 to 10 days. Check in daily: you’re looking for bubbles and a sharp, pleasantly sour smell.
- Start tasting on day 5. When the sourness feels right to you, move the jar to the fridge. Cold slows everything down and locks in that flavor.
Troubleshooting Common Issues
- Cloudy brine: Totally normal. That’s active fermentation at work, not a sign something’s wrong.
- White film on top (kahm yeast): Harmless, but skim it off anyway. Leave it too long and it starts messing with the flavor.
- Fuzzy black or pink mold: Bad news. Toss the whole batch. This usually happens because tomatoes slipped above the brine line and got exposed to air.
- Mushy texture: Nine times out of ten, this comes from tomatoes that had a bit of frost damage already, or from fermenting somewhere too warm.
Beyond Basic Pickles: Creative Uses
Don’t limit these to straight-from-the-jar snacking. A few ideas worth trying:
- Slice them into salsas or relishes for a sharp, tangy edge
- Chop them into potato salad or grain bowls for texture and acidity
- Blend into a fermented green tomato hot sauce with chilies and a splash of vinegar
- Save the leftover brine and use it to sour soups or brighten up salad dressings
Storage and Shelf Life
Once they go in the fridge, fermented green tomatoes hold for roughly 2-3 months, and honestly they keep getting more interesting as they sit. Just always grab them with a clean utensil. One dirty fork can shorten the life of the whole jar.
Conclusion
Fermenting green tomatoes ahead of that first frost turns a garden’s leftover abundance into something you’ll actually want to eat all winter. It takes almost no equipment, barely any active time, and the process forgives a lot of small mistakes. If you’ve got a vine full of green tomatoes headed nowhere, this is about the easiest way to save them from the compost bin.