Making Lacto-Fermented Hot Sauce Without Whey or a Starter
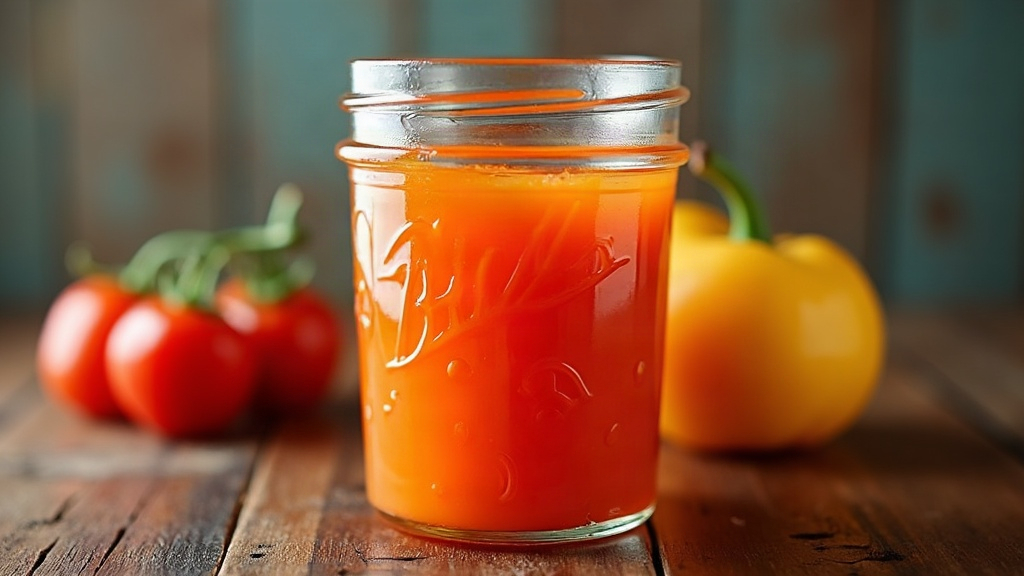
Making Lacto-Fermented Hot Sauce Without Whey or a Starter Culture
Skipping the whey and the starter packet isn’t a shortcut, it’s actually the old-school way people have been fermenting hot sauce for hundreds of years. Fresh chilies, non-iodized salt, water. That’s the whole ingredient list. The lactic acid bacteria (LAB) already sitting on the skin of your peppers and drifting around your kitchen do all the real work—the same beneficial cultures used in lacto-fermented vegetables like carrots. No yogurt whey, no kombucha SCOBY, no mail-order culture packets.
Why You Don’t Need Whey or a Starter
Whey and commercial starters got popular in home fermentation circles because they speed things up and lower the odds of a beginner messing it up. Fair enough. But wild fermentation, just letting the bacteria already on your produce do their thing, is how sauerkraut, kimchi, and traditional pepper mashes (the kind behind a lot of commercial hot sauces you’ve probably eaten) have been made forever.
Peppers arrive covered in a whole ecosystem of wild yeasts and bacteria, Lactobacillus included, which is exactly what drives lacto-fermentation. Submerge chopped chilies in salt brine, keep the oxygen out, and you’ve built a little anaerobic, salty world where LAB flourish while the bacteria that spoil food get pushed out.
What You’ll Need
- 1 lb (450g) fresh chili peppers (jalapeño, serrano, habanero, cayenne, or a mix of whatever you’ve got)
- 2-3 cloves garlic (optional, but it adds flavor and throws in more wild bacteria)
- Filtered, non-chlorinated water
- Non-iodized salt (sea salt or kosher salt work fine)
- A clean glass jar with a lid or fermentation weight
- A small ziplock bag filled with brine, useful as a makeshift weight if you don’t own a proper one
Step-by-Step Process
1. Prepare the Peppers
Rinse the peppers, but don’t go at them with a scrub brush. Some of that wild bacteria you actually want lives right on the skin. Pull off the stems, then chop or slice roughly. Keep the seeds if you want more heat; pull them out if you’d rather the sauce stay a bit mellower.
2. Make Your Brine
Somewhere between 3% and 5% salt is the sweet spot for fermenting hot sauce:
- 3% brine: 30g salt per 1000ml water, milder and it ferments faster
- 5% brine: 50g salt per 1000ml water, a safer bet in a warm kitchen, and it moves slower
Just stir the salt into filtered water until it disappears completely.
3. Pack the Jar
Drop the chopped peppers (garlic too, if you’re using it) into the jar and pour brine over the top until everything’s fully underwater. Leave 1-2 inches of headspace at least, because fermentation kicks off CO2 and things will bubble and push upward.
4. Weigh It Down and Seal Loosely
A fermentation weight, or that brine-filled ziplock bag, keeps the peppers pinned under the liquid. This matters more than people think: any pepper poking above the brine is an invitation for mold. Close the lid loosely, or use an airlock lid, so gas can escape but outside air can’t sneak in.
5. Ferment at Room Temperature
Set the jar somewhere out of direct sun, ideally 65-75°F (18-24°C), and leave it for 5 to 14 days. Along the way you’ll see:
- Bubbles and a cloudy brine (that’s a good sign, it means fermentation is active)
- A sour, tangy smell starting to build
- The color getting a shade deeper
Start tasting around day 5. You’ll know it’s ready when the flavor hits that sour, funky, tangy note while the pepper’s heat still comes through underneath.
Troubleshooting Common Issues
- White film on top (kahm yeast): Not dangerous, but it can mess with the flavor if left alone. Skim it off. If it keeps coming back, the batch is probably still fine, just taste it carefully before deciding.
- Fuzzy black, pink, or green mold: Toss the whole batch. That’s contamination, not a fixable problem.
- No bubbling after 3-4 days: Your kitchen is likely too cold for the bacteria to get moving. Find a warmer spot and give it more time.
Blending Into Sauce
Once it tastes the way you want, strain out the solids (hang onto the leftover brine, it’s genuinely useful in cocktails, marinades, or as a jump-start for your next batch). Blend the peppers with a splash of that reserved brine, a bit of vinegar for shelf stability, and salt to taste. Run it through a fine mesh sieve if you want a smoother, pourable sauce instead of something chunky.
Storage
Bottled and refrigerated, this sauce holds up for several months. Between the fermentation itself and the acidity from any vinegar you added, you’ve got a decent built-in preservative.
Conclusion
No whey, no dairy, no specialty starter culture needed here, everything required is already living on the chilies themselves. Salt, water, and a bit of patience get you a tangy, complex, genuinely good hot sauce, made the same wild-fermentation way sauce makers have relied on for generations.