Summer Heat Fermentation: Cooling Lacto-Ferments Without a Fridge
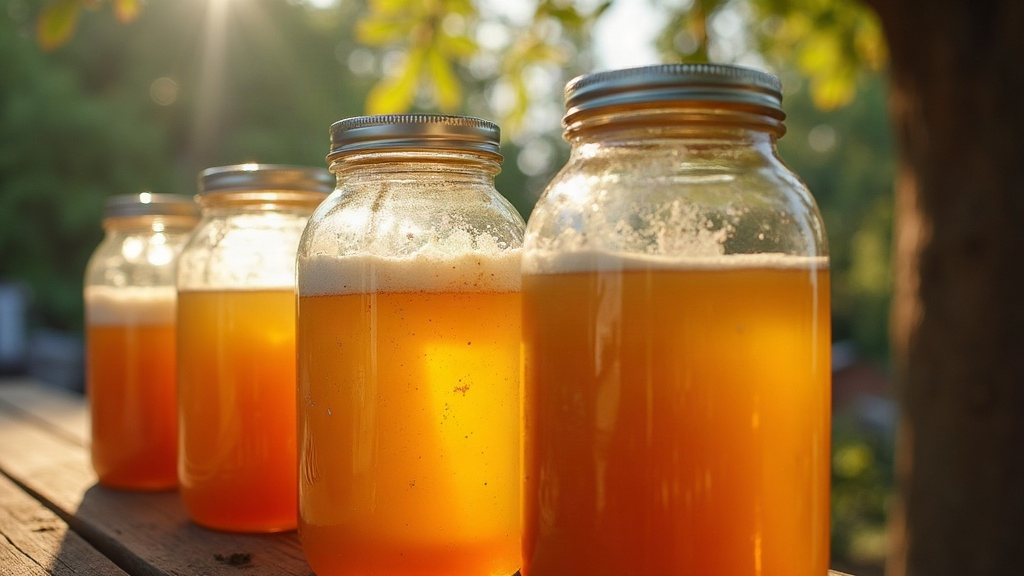
Fermenting in Summer Without a Fridge: How to Keep Your Ferments From Turning to Mush
Summer heat speeds up lacto-fermentation fast. One week you’ve got a crisp, tangy batch of pickles; the next, in just a few days of 90-degree weather, you’re staring at a mushy, over-sour mess that might not even be safe to eat. Here’s the thing though: you don’t need a refrigerator to keep this under control. A bit of smart placement, a water bath, some insulation tricks, and tighter timing can keep your crocks and jars fermenting at a safe, flavorful pace, even when the thermometer climbs past 90°F (32°C).
Why Heat Is the Enemy of Good Ferments
Lactic acid bacteria (LAB), the good guys doing the work in most vegetable ferments, like it best between 65–75°F (18–24°C). Push past 80°F (27°C) and things speed up fast. Too fast, really:
- Vegetables go soft and mushy before they ever develop real flavor
- Harmful yeasts and molds start competing more aggressively with the beneficial bacteria
- Flavor turns sharply sour, sometimes unpleasantly funky, within 24–48 hours
- Kahm yeast (that white film on top) shows up sooner and more often
Fast fermentation isn’t automatically unsafe. But it’s a lot harder to manage, and that window for “perfectly done” shrinks from a comfortable week down to, in some cases, less than a day.
Fridge-Free Cooling Strategies That Actually Work
1. Find Your Home’s Natural Cool Zones
Every house has a spot that stays cooler than the rest. Grab a thermometer and go scouting:
- Basements and cellars - often 10–15°F cooler than the rooms upstairs
- North-facing closets - away from direct sun and heat-generating appliances
- Lower cabinets near exterior walls - tile or concrete floors soak up heat instead of radiating it back
- Under-stairs storage - usually the coolest corner in a house with no basement
If temperatures swing a lot during the day, move your ferment twice: once in the morning, once in the evening.
2. Build a DIY Water Bath “Evaporative Cooler”
This is, hands down, the most effective no-fridge trick there is:
- Set your fermentation jar or crock inside a larger basin or bucket.
- Fill the basin with cool water, up to about halfway up the sides of the jar.
- Drape a damp cotton towel over the jar, letting the ends dangle into the water so it wicks moisture up and stays continuously damp.
- Put the whole setup somewhere shaded with a bit of airflow, even near an open window works.
As the water evaporates off the towel, it pulls heat away from the jar and can drop the internal temperature by several degrees. Top off and refresh the water twice a day.
3. Use Frozen Water Bottles as Cold Packs
Freeze a couple of 1-2 liter bottles overnight, then tuck them around (not touching) your fermentation vessel inside an insulated cooler or box. Rotate fresh frozen bottles in every 12 hours. This trick works especially well for smaller mason jar batches.
4. Insulate, Don’t Just Cool
Wrap ceramic crocks in a damp towel, or set them inside a styrofoam cooler with a loose-fitting lid (never seal it airtight, the gases need somewhere to go). Insulation won’t make things colder, but it slows how fast the outside heat gets in, which buffers those nasty midday spikes.
5. Ferment at Night, Monitor by Day
If your kitchen cools off after sunset, use that to your advantage:
- Mix and pack the ferment in the evening
- Let it sit overnight in the coolest spot you’ve got
- Check on it every morning and relocate to your coolest daytime spot
Adjusting Your Recipe for Hot Weather
- Bump up the salt slightly (around 0.5% more) - the extra salinity slows fermentation down and keeps spoilage organisms more in check when it’s hot
- Check it daily, not weekly - once temps climb past 80°F, taste-test every 24 hours, no exceptions
- Go smaller on batch size - smaller jars equalize temperature faster, and you can pull a perfectly timed batch out (into cold storage, or straight onto your plate) before it over-sours
- Weigh the vegetables down firmly - faster bubbling in heat can shove produce up above the brine line quickly, and that’s exactly how mold gets a foothold
Signs Your Summer Ferment Is Ready Early
Heat speeds everything up, so forget the usual “5-7 days” rule of thumb from cooler months. Instead, watch for these cues:
- Brine clouding over within 24-48 hours (normal, but give it a taste to confirm)
- A pleasantly sour smell, not yeasty, not rotten
- Vegetables going slightly soft but still holding their shape
- Bubbling that was active and is now slowing down, a sign it’s nearing the finish line
Once it tastes the way you want, get it into the coolest spot you have right away, even if that’s nothing fancier than a shaded pantry shelf, just to slow things down until you can eat it or store it properly.
Final Thoughts
Summer heat doesn’t have to wreck your fermentation projects. Combine evaporative cooling, smart placement, a bit of insulation, and small recipe tweaks like that extra pinch of salt, and you can keep fermenting vegetables all summer long without ever touching a fridge. The real trick is staying on top of it: check daily, taste often, and act fast the moment a batch hits its peak.